
Designing and arranging a gallery wall is just one of those things that is sometimes easier said than done. Gallery walls look chic and add instant charm to a home, but figuring out where to begin when it comes to actually creating one can be a challenge. But it doesn’t have to be!
The truth is, with just a little bit of planning done the right way, gallery walls are really not all that difficult to design. Seriously – you don’t have to waste time or knock a ton of holes into your pristine walls in your quest to discover the perfect layout for your wall art. By following a few of our helpful tips (and by using a few tricks of the interior design trade), you’ll have an Instagram-worthy gallery wall in no time!
What You’ll Need:
- Several of your favorite pieces of wall art
- Painter’s tape
- Roll of kraft paper (the larger the wall art, the larger the roll!)
- Chalk or a marker that won’t bleed through the paper
- Scissors
- Level
- Hammer
- Hanging hardware
Step 1: Collect Your Art
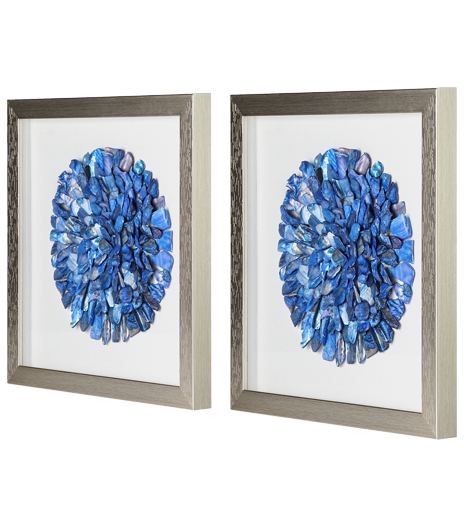
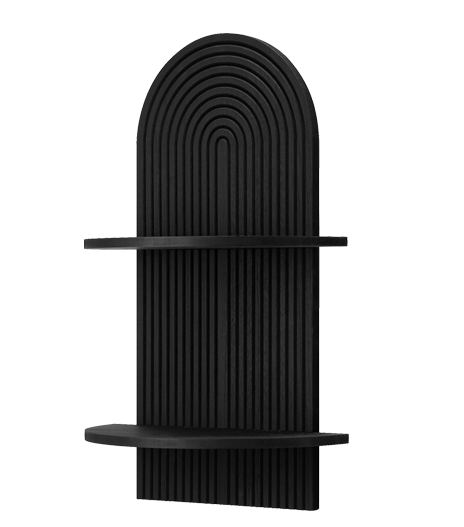
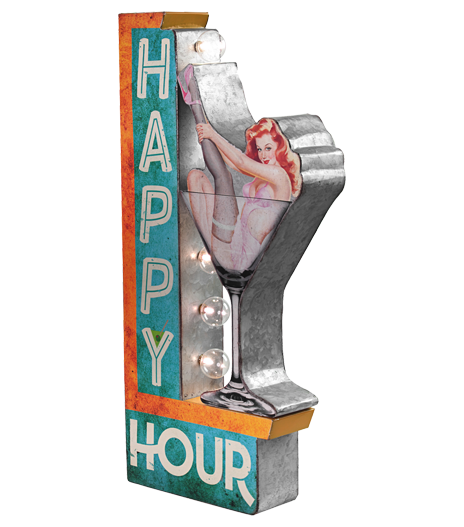
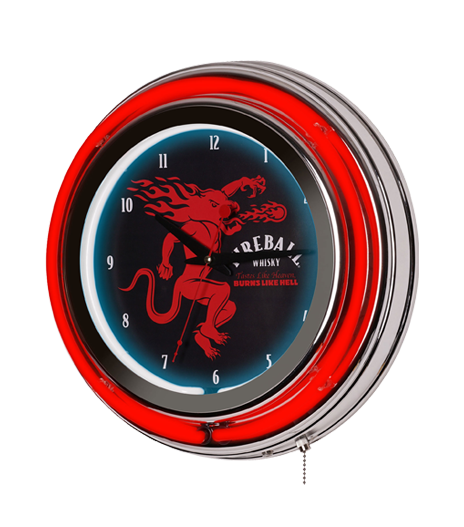
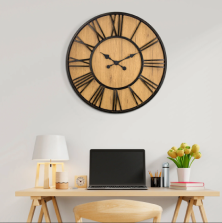
The first and, perhaps, most obvious step is collecting the wall art that will make up your gallery wall! This could be framed art, canvas art, wall clocks, tapestries – you name it. Collect items you love and express who you are.
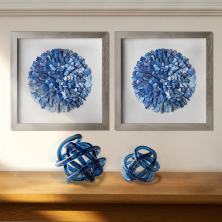
Often, gallery walls will be comprised of items that follow a certain theme, like a certain color palette or family photos. Other times, gallery walls are eclectic and somewhat mismatched in size, style, and color. This is where you can really let your imagination run wild, so don’t be afraid to get creative!

Step 2: Arrange Your Art on the Floor
By taking all of the pieces that’ll comprise your gallery wall and laying them out on a floor, you’ll be able to get a better idea of how they’ll look next to one another, how much space they’ll take up collectively, and you’ll be able to try different arrangements without putting a million holes in your wall.
It’s important to remember that this is merely a testing step meant to help you visualize the arrangement. No need to overthink it! Play with spacing, size, and everything in between. Do you want your arrangement to be balanced or would you prefer an asymmetrical look? This is a good time to decide which direction you’d like to take it.

Step 3: Roll Out the Kraft Paper
Next, take your roll of kraft paper and roll it out on a flat surface. One at a time, take each piece of wall art and lay it over the kraft paper. Trace around the art and then cut out the shape. Mark the precise placement of the hanging bracket on the paper. You may want to make a note of which wall art the shape is supposed to represent on the paper, too.
If you’ve made a floor arrangement that you just know for sure you want on the wall, be sure to place the wall art back in its spot on the floor so as not to lose the arrangement you’re aiming to achieve. Finally, lay the cut-out shape over the wall art it represents, just for safekeeping (and to keep your working area neat and organized).
Step 4: Recreate the Floor Arrangement on the Wall
The next step is to recreate what you’ve arranged on the floor onto the wall using those cut-outs. It’s a good idea to start in the center and work your way out. Be sure to use painter’s tape to secure the cut-outs to the wall so as not to damage any paint on the walls. This is also the step where you may realize you’d like to make some changes – and that’s ok!
This is also the step where you’ll want to decide how you want to play with spacing the items. Gallery wall art doesn’t necessarily have to be evenly spaced apart; in fact, playing with the amount of space between items can create visual interest. With that said, we know there are a lot of perfectionists out there! If you want an even amount of space between each piece of art, find a long, straight item you can use as spacer as you make your arrangement on the wall. A yardstick (or two yard sticks taped together) is a common tool. This will ensure your gallery wall has the uniformity you desire, if you so choose.

Step 5: Get to Hanging!
Once you’ve achieved the perfect arrangement on your wall using the cut-outs you made, take a pushpin and make a small hole through each paper exactly where you’ve marked the location of the hanging bracket.
One at a time, take each piece of paper off the wall and prepare the wall for the next item to be hung. Depending on what kind of wall you’re working with, this could be as simple as hammering in a nail and will usually involve hammering in a nail and hanging hook.
Once the wall is prepared, simply hang the item and use a level to make sure it’s on straight. Then, you’ll move on to the next piece – mark the hole, prepare the wall, hang, and repeat again.

Step 6: Admire Your Work
Voila! You’ve done it. Your walls are still intact – and so is your sanity!
Don’t you just love your new wall? We’d love to see it! Tag us in a photo of your gallery wall on Facebook or Instagram so we can check it out! Our favorite walls might even get featured… hint, hint.
Looking for wall art for a gallery wall?
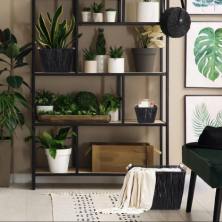
At American Art Decor, we design, manufacture, and retail all our own products, offering an eclectic range of modern farmhouse items. From antique-inspired vintage wall art to rustic chic wall clocks and hanging bins, we cut out the middleman to bring a carefully curated selection of high-quality home décor directly to you, the consumer. And thanks to our user-friendly online store, shopping for our products is as simple as clicking a button.