

You’ve got some exciting new chalkboard decor for your farmhouse home—now what? Here are two DIY farmhouse decor methods for adding gorgeous chalkboard lettering to blackboard signs and other decorative chalkboards.

Prep
The first step is to have all your supplies on hand:
Chalk
A blackboard
Cleaning cloths
Cotton swabs
A small bowl of water
Paper
A pencil
A ruler or other straight edge
Optional but recommended:
Liquid chalk markers (sometimes called chalk pens)
A note on chalk pencils: Chalk pencils are generally designed for marking fabric while tailoring clothes, not for chalkboards. While they will look good used on a chalkboard, they won’t erase as easily as standard chalk. Because you may not be able to totally remove the image, we only recommend using a chalk pencil for something you’d like to be permanent.
A note on blackboards: The terms “chalkboard” and “blackboard” mean pretty much the same thing! Early chalkboards were made from slate, and so they were referred to as blackboards due to the black or dark grey color of the rock. When green chalkboards became popular in schools in the 1960s, the less color-specific term became more common. Use whichever you like.

Select your text
Before you do anything else, you’ll need to decide what you want your chalkboard decor to say. Stay organized by using chalk labels on drawers and containers, or be motivated by an inspirational word or phrase. Chalkboards are also great for to-do lists, grocery lists, calendars, and other reminders. You can follow our Chalkboard Signs Pinterest Board for more ideas on how to use your decorative chalkboard.
Make a paper sketch or find a farmhouse font
Once you’ve selected your word, phrase, or sentence, it’s time decide on a lettering style!
You can do this the old-fashioned way by sketching out on paper, especially if you want to lean into the handwritten DIY look. If you want clear spacing and consistent lettering, we recommend finding a font you love that you can emulate. Typing and printing out your text is required for the second method we’re going to talk about, but you might find it helpful for the first method as well.
Handwritten script style fonts are maybe the most popular farmhouse fonts, because they have such a personable DIY aesthetic. They’re more down-to-earth than full-on calligraphy, but still have graceful and delicate lines.
Since you’ll be writing with chalk or liquid chalk, it’ll have a handwritten quality no matter what, so don’t feel limited to handwriting inspired fonts. If you’re looking for bolder text, consider lettering that looks like vintage type, stenciling, or has a Western feel. Symbol fonts are also a great way to add embellishments like arrows and stars. Google Fonts, DaFont, and Lost Type are all websites that offer fonts for free or pay-what-you-want for non-commercial personal use, so browse the options until you find something you love.
Once you’ve decided, print your text out at the size you want to have on your chalkboard. Draw on any additional embellishments you’d like, and then off we go! Clean your chalkboard with a wet cloth, let it dry, and then choose one of the following methods.

Method #1 – Freehand lettering with guide lines
Now you've got either a sketch on paper or a printout of what you want your text to look like. What now?
For the first of our two methods, you'll want to break out your ruler or other straight edge. (If you don't have one of those on hand, you can use the edge of a notebook.) Use the ruler to make guide lines on the paper above and below your text and marking the center. You can even make a full grid if that's helpful! Then recreate those guide lines with chalk on your blackboard.
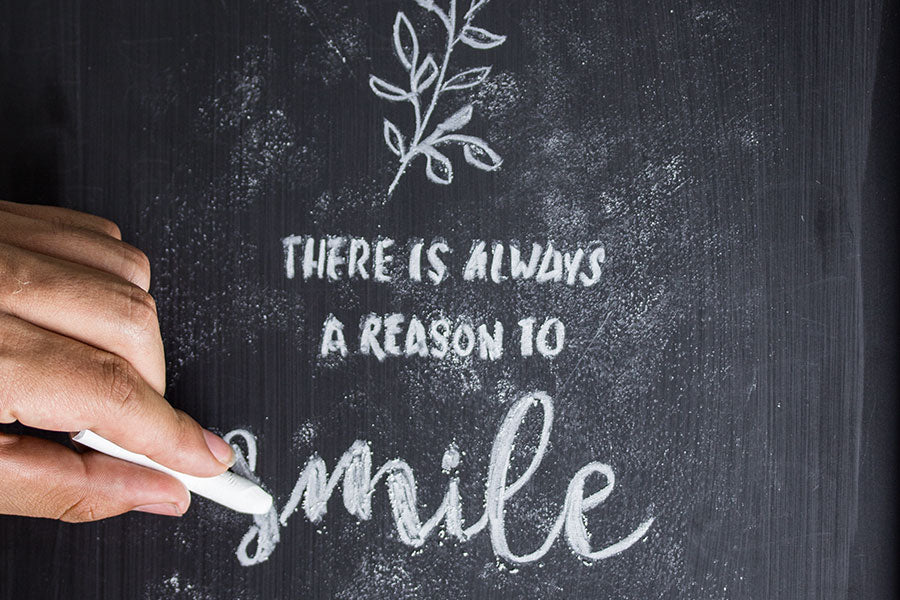
Using your guidelines and referring to your paper, write out your text. The lines will help you keep your text straight and the relative height of your letters on track. You can outline the letters and then fill them in, or write in regular script and then add thicker markers on the downstrokes for a calligraphy inspired look. If you're using regular chalk and not a liquid chalk marker, writing can be a bit easier if you moisten the chalk slightly before starting.
Once everything is drawn out and dry, use cotton swabs to erase your guidelines and any additional marks you want to erase. First go over them with a damp cotton swab, and then with the dry end. Don’t sweat it too much, however, since that slightly messy quality is part of the appeal of chalkboard lettering!

Method #2 – Chalk image transfer
For this one, you’re going to use your print-out. Turn it over, and use the side of the chalk to cover the back of the paper with chalk. This can be a little dusty, so maybe don’t wear black cashmere for this part.
Place the paper chalk-side down on your chalkboard in the exact position you want it in. Using a dull pencil (you don't want to scratch your chalkboard), trace the lines of the letters and any embellishments. Carefully remove the paper, and you’ll see a faint chalk outline of your text has been transferred onto the chalkboard.
Go over this outline with your chalk or liquid chalk marker, and then do any necessary filling in. Add any additional details you’d like, and then it’s time to clean up edges or stray marks with your damp and dry cotton swabs as in the method above.

Have you tried either of these chalkboard lettering techniques? How did your chalkboard sign turn out?